

Deploy MERN Stack application using 3-tier architecture on AWS with CI/CD pipeline using GitHub action


Table of contents
- What is the MERN stack application?
- What is 3-tier architecture?
- What is AWS?
- What is the CI/CD PIpeline?
- What is Github-action?
- Launch Ec2 Instances for deployment with 3-tier Architecture.
- Setup Instance for NodeJs application
- Setup the Database EC2
- Setup EC2 for the React application
- Create CI/CD Pipeline using Github-action
- References
In the ever-evolving web development landscape, deploying a MERN (MongoDB, Express.js, React, Node.js) stack application using a 3-tier architecture on Amazon Web Services (AWS) is a crucial milestone. This approach combines the power of MERN for building robust web applications with the scalability and flexibility of AWS cloud infrastructure. But what truly sets this project apart is the implementation of a Continuous Integration/Continuous Deployment (CI/CD) pipeline using GitHub Actions. This integration streamlines the deployment process, enabling automatic updates and ensuring your application is always up to date. Join us as we explore how to achieve this seamless and efficient deployment, ushering in a new era of web development practices.
What is the MERN stack application?
The MERN stack is a popular web development framework that consists of four key technologies:
MongoDB: A NoSQL database for storing data.
Express.js: A back-end web application framework for building APIs.
React: A front-end JavaScript library for creating user interfaces.
Node.js: A runtime environment for executing JavaScript on the server.
Together, these technologies enable developers to build full-stack web applications with a unified JavaScript language throughout development.
What is 3-tier architecture?
A 3-tier architecture is a software design pattern that divides an application into three interconnected layers:
Presentation Tier: The user interface or client-side layer.
Logic (or Application) Tier: The middle layer containing business logic and application functionality.
Data Tier: The back-end layer is responsible for data storage and management, often involving databases.
What is AWS?
Amazon Web Services (AWS) is a comprehensive cloud computing platform offered by Amazon. It provides many scalable and flexible cloud services, including computing power, storage, databases, machine learning, and more. AWS enables businesses and individuals to deploy and manage applications and services cost-effectively and reliably without investing in physical infrastructure.
What is the CI/CD PIpeline?
A CI/CD (Continuous Integration/Continuous Delivery) pipeline is an automated software development process that involves two main stages:
Continuous Integration (CI): Developers frequently merge code changes into a shared repository, where automated tests and builds are performed to detect and address issues early.
Continuous Delivery (CD): Once code passes CI tests, it's automatically deployed to production or a staging environment, streamlining the release process and ensuring rapid, reliable software delivery.
What is Github-action?
GitHub Actions is an automated workflow and continuous integration/continuous deployment (CI/CD) platform provided by GitHub. It allows developers to create, customize, and automate tasks like code building, testing, and deployment directly from their GitHub repositories. These workflows help streamline software development processes and improve collaboration among development teams.
Now that we know all the terms, let's proceed with the deployment process.
Launch Ec2 Instances for deployment with 3-tier Architecture.
Go to the EC2 page and click on Launch Instance.
Give the EC2 name at your convenience.
Select Ubuntu image.

Select the Instance type at your convenience. (Recommended: t2.micro)
Create an SSH key pair if you don't have one.
- Keep all settings as their default values as we are focusing on deployment.

- Click on Launch instance and Connect with EC2.

Create the same EC2 for the React and Database.
Setup Instance for NodeJs application
Installation Instructions.
- Download and import the Nodesource GPG key.
sudo apt update
sudo apt install -y ca-certificates curl gnupg
sudo mkdir -p /etc/apt/keyrings
curl -fsSL https://deb.nodesource.com/gpgkey/nodesource-repo.gpg.key | sudo gpg --dearmor -o /etc/apt/keyrings/nodesource.gpg
- Create a deb repository.
NODE_MAJOR=20
echo "deb [signed-by=/etc/apt/keyrings/nodesource.gpg] https://deb.nodesource.com/node_$NODE_MAJOR.x nodistro main" | sudo tee /etc/apt/sources.list.d/nodesource.list
Optional: NODE_MAJOR can be changed depending on the version you need.
- Update and Install.
sudo apt update
sudo apt install nodejs -y
- Check the node and npm versions.
node -v
npm -v

- Now, You can Develop your NodeJs Application. I am not focusing on code so I clone the repository.
git clone https://github.com/jackbalageru/MERN-CRUD.git
- Go to the server Directory.
cd MERN-CRUD/server
- Install the Packages.
npm install
- Start Node Application.
node index.js
    or
npm start  // If you have defined script in package.json file

- Install pm2 for deployment.
npm install pm2 -g
- We must enable port 8080 in the Security Group to access it from our local machine.
Go to Security Group -> Edit Inbound Rule -> Add Rule -> Add Below Entry -> Save Rule.

Setup the Database EC2
Installation Instructions MongoDB:
- Import the public key used by the package management system.
sudo apt install gnupg curl
- To import the MongoDB public GPG key from https://pgp.mongodb.com/server-7.0.asc , run the following command.
curl -fsSL https://pgp.mongodb.com/server-7.0.asc |
sudo gpg -o /usr/share/keyrings/mongodb-server-7.0.gpg --dearmor
- Create a list file for MongoDB.
echo "deb [ arch=amd64,arm64 signed-by=/usr/share/keyrings/mongodb-server-7.0.gpg ] https://repo.mongodb.org/apt/ubuntu jammy/mongodb-org/7.0 multiverse" | sudo tee /etc/apt/sources.list.d/mongodb-org-7.0.list
Reload the local package database.
sudo apt update
- Install the MongoDB packages.
apt install -y mongodb-org
Start MongoDB service.
sudo systemctl start mongod.service
- Check the status of the service.
systemctl status mongod.service

- Go into MongoDB CLI.
mongosh
- Create database.
use my_db
- Show All Databases.
show dbs

- Exit from CLI.
exit
- Change MongoDB conf file.
vi /etc/mongod.conf
- Change bindIp in the conf file.

- Restart the service.
systemctl restart mongod.service
- Check If It's running over the Internet or not.
Install net-tools.
apt install net-tools
netstat -lntup
- We must enable port 27017 in the Security Group to access it from our local machine.
Go to Security Group -> Edit Inbound Rule -> Add Rule -> Add Below Entry -> Save Rule.

- Configure the NodeJs application to connect with MongoDB.
// server/db.js
const mongoose = require("mongoose");

module.exports = () =>
{ const connection = mongoose .connect('mongodb://your_mongo_public_ip:27017/my_db')
.then((result) => console.log("Connected to database"))
.catch((err) => console.log("could not connect to database")); };
- Run the node app, it will connect with the Database.

Great!! Our NodeJs and MongoDB are connected.
Setup EC2 for the React application
To set up a React application, we need to have npm and node installed, as we have already covered during the installation of NodeJs. Please follow the same steps to install them on the React EC2 instance.
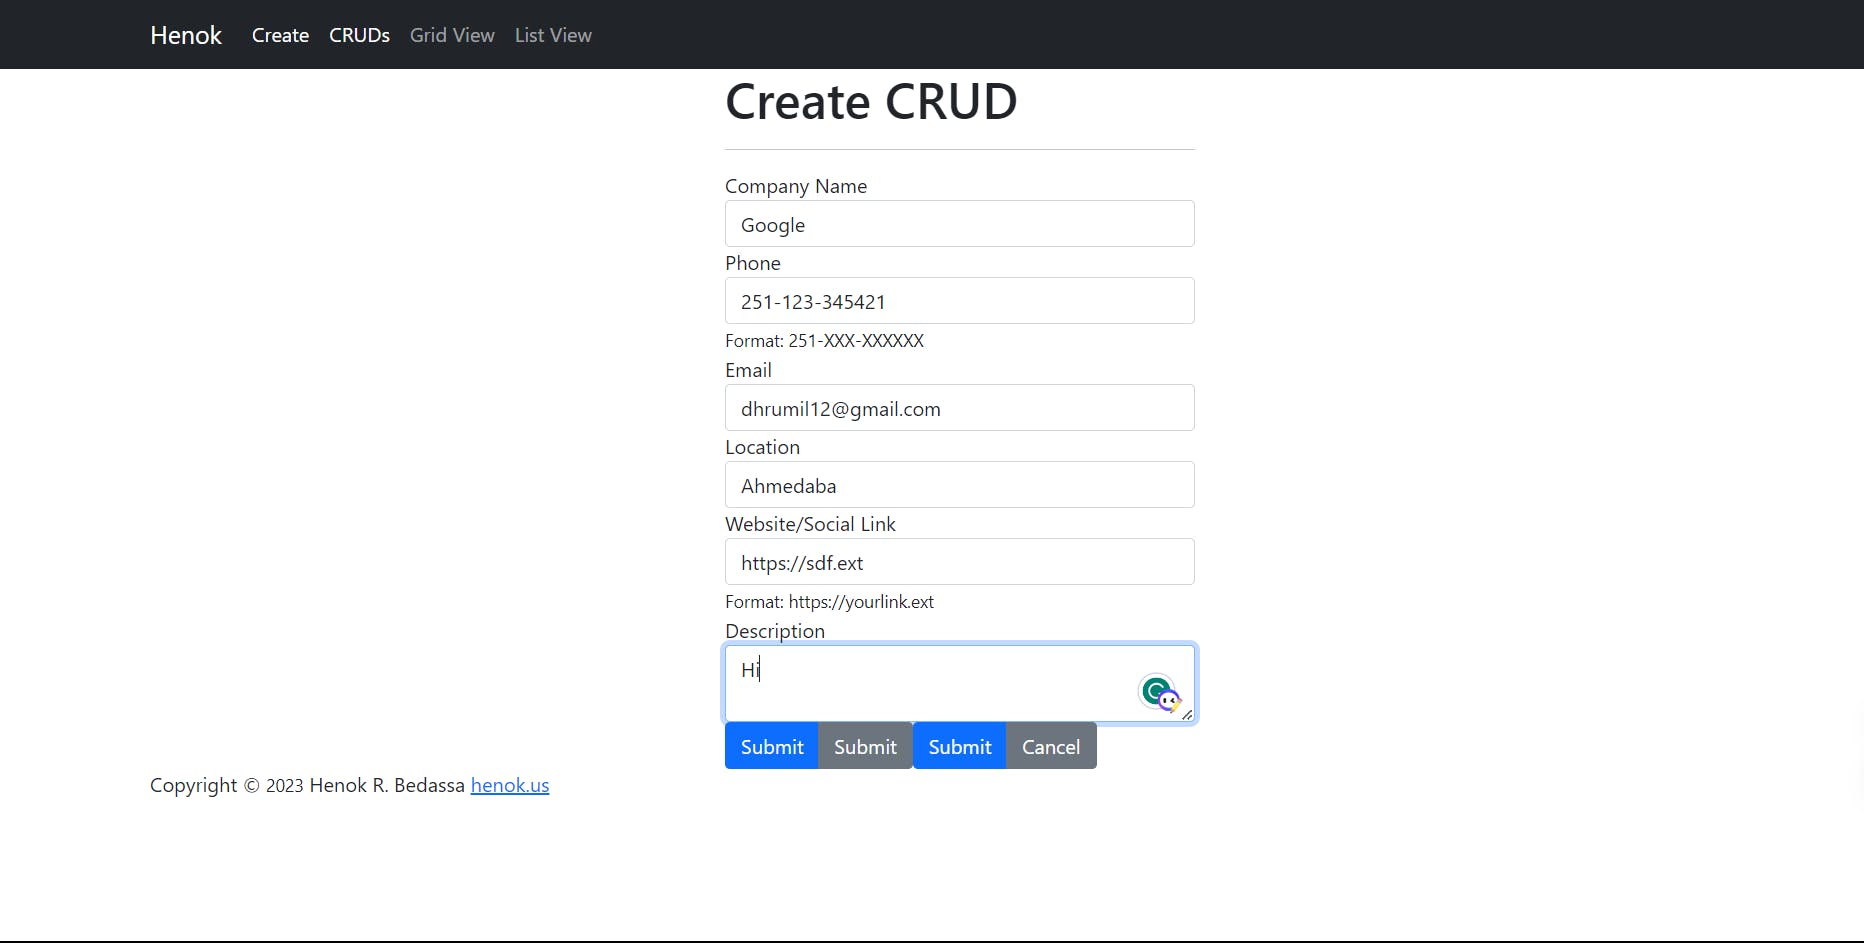
Create your react code. I took the react code from the GitHub repository.
Go to the client directory.
cd MERN-CRUD/client
- Install the packages and start the application.
npm install
npm start

- Install pm2 for deployment.
npm install pm2 -g
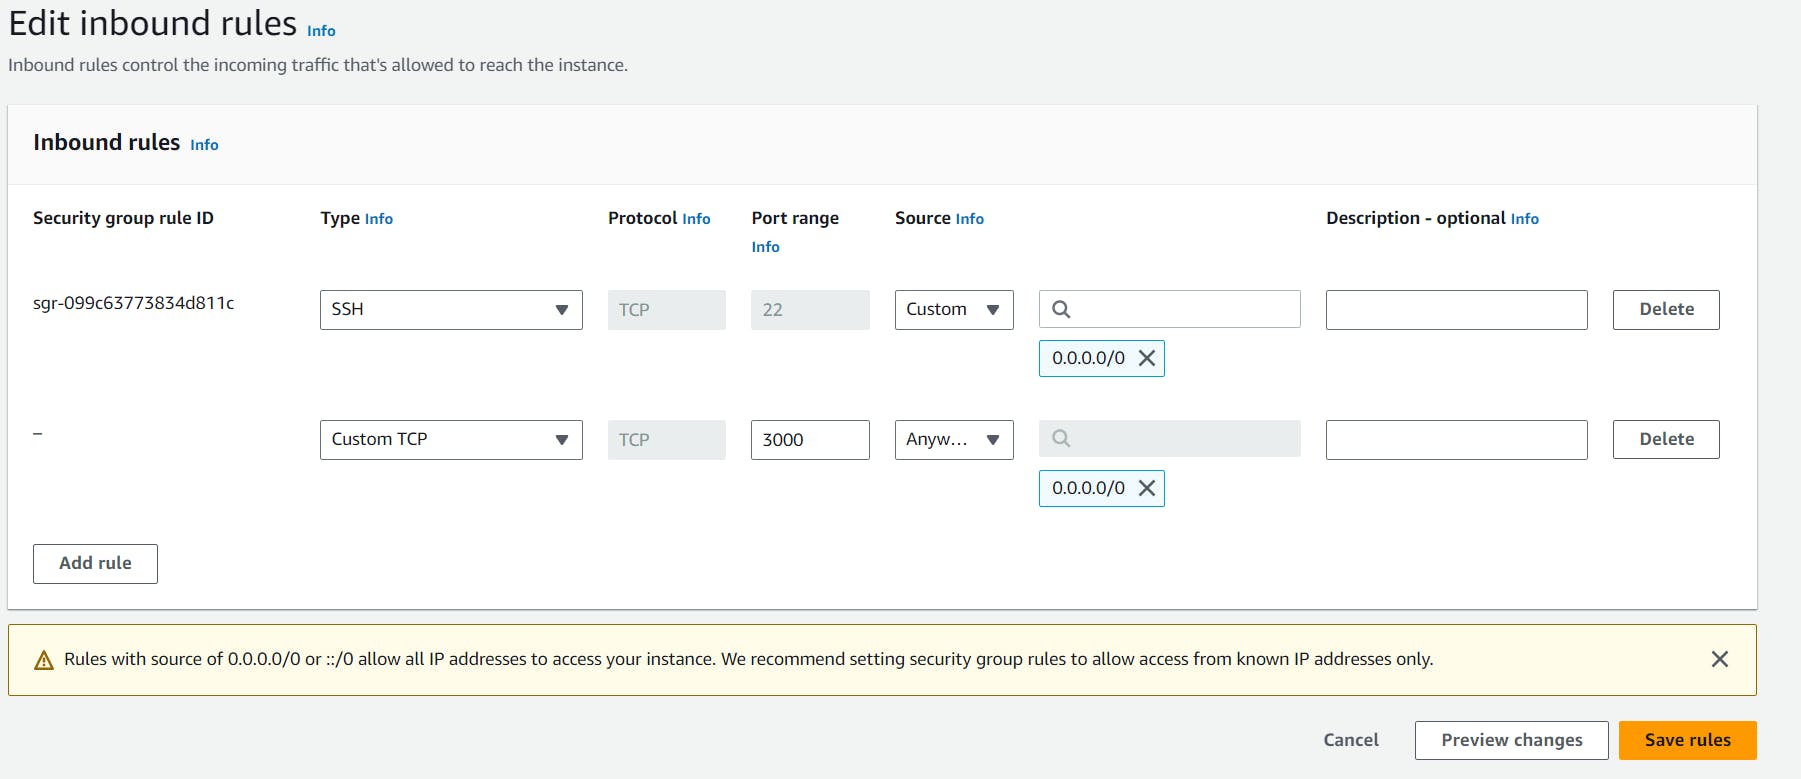
- We must enable port 3000 in the Security Group to access it from our local machine.
Go to Security Group -> Edit Inbound Rule -> Add Rule -> Add Below Entry -> Save Rule.
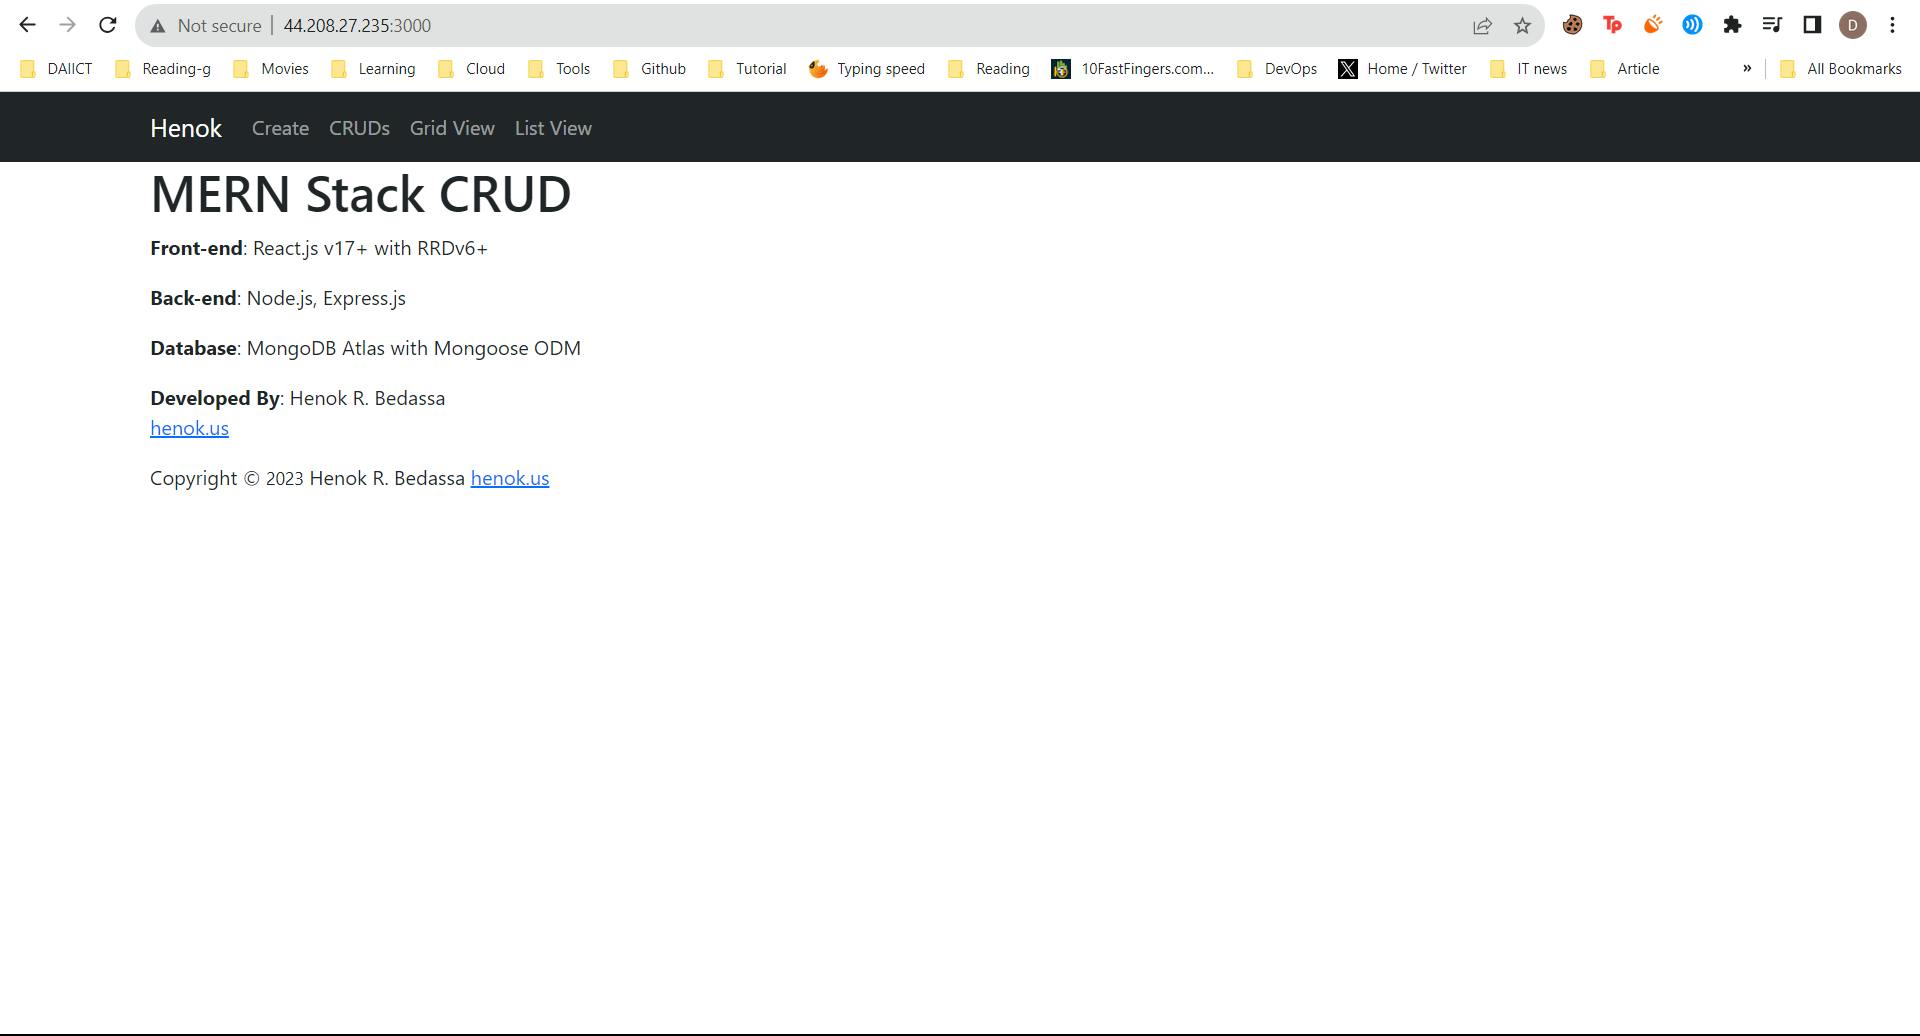
- Access the website on default port 3000.
Configure NodeJs application
// server/index.js
const express = require("express");
const cors = require("cors");
const connection = require("./db");
const crudRoutes = require("./routes/crudRoutes");
const app = express(); const PORT = 8080;

connection connection();

app.use(express.urlencoded({ extended: true }));
app.use(express.json()); app.use(cors());
app.use((req, res, next) => { res.locals.path = req.path; next(); });
app.use("/api/cruds", crudRoutes);
//app.use("/api/auth", authRoute);
app.listen(PORT, '0.0.0.0',() => console.log(Listening on port ${PORT}...));
Configure React application
- Go to the crud folder.
cd MERN-CRUD/client/src/components/cruds
- Replace API URL with NodeJS app URL.
sed -i 's/\/api/http:\/\/your-node-public-ip:8080\/api/g' *
Great!! React application is connected with NodeJs.
- Let's test the application.

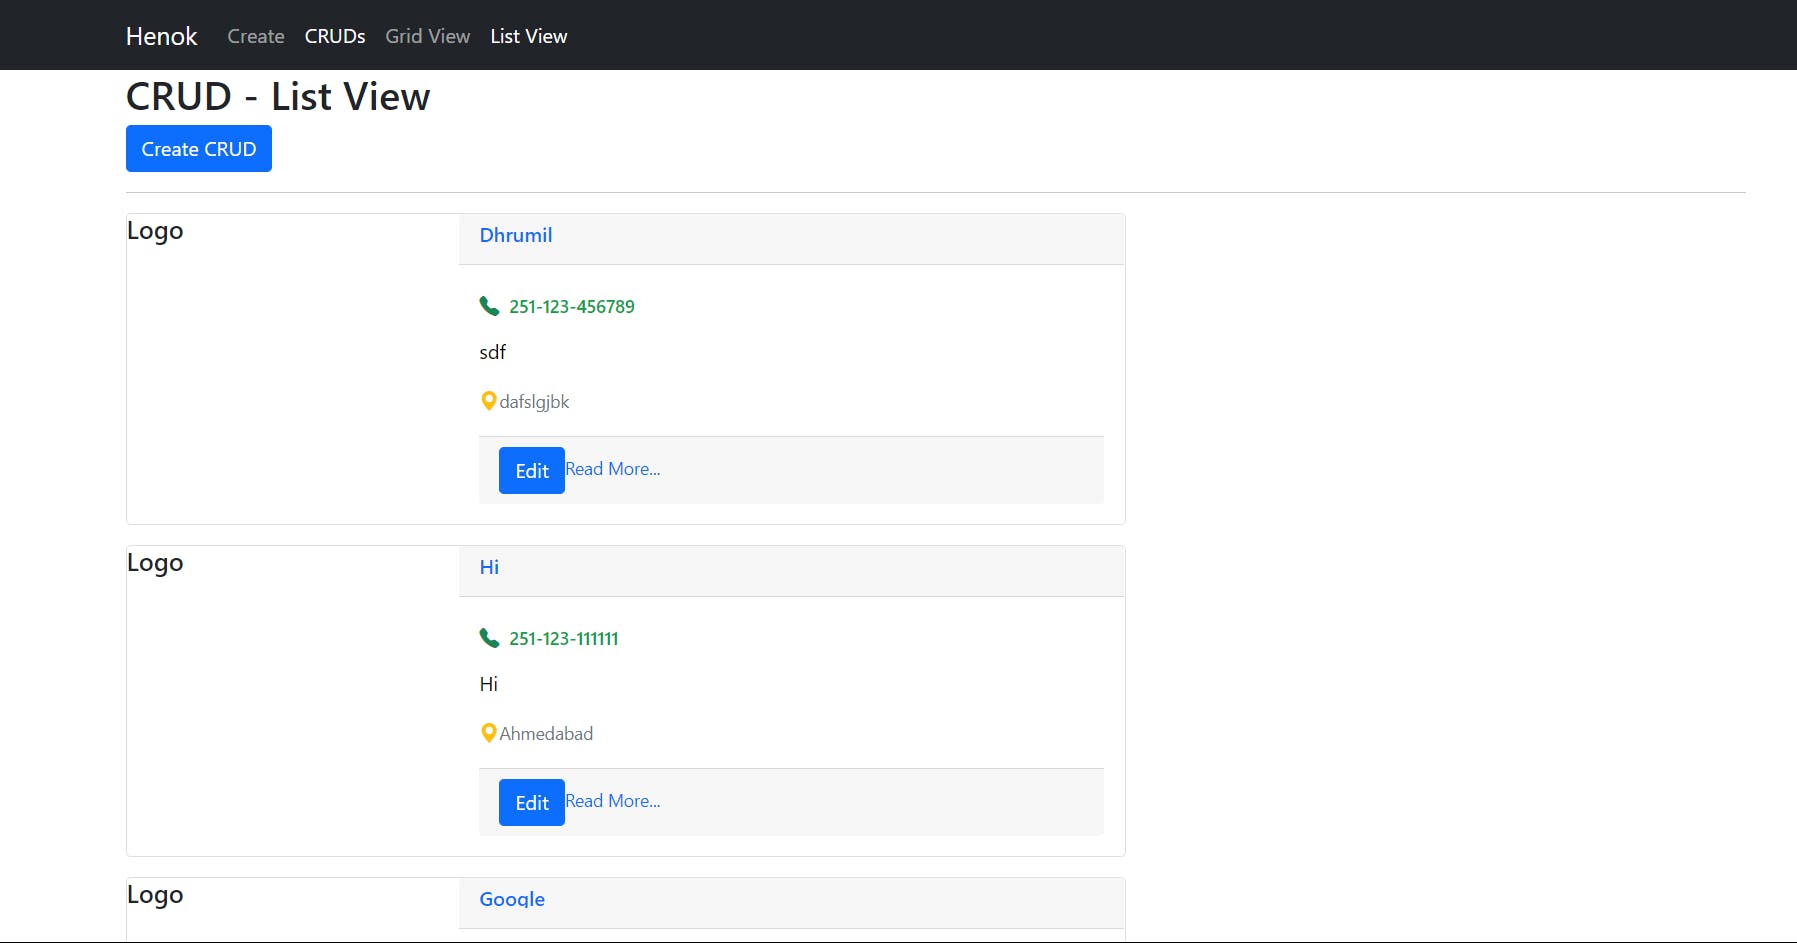
You can check your MongoDB Database. Run Query: db.Cruds.find()
So, We manually deploy the application on the servers. Let's automate this workflow to deploy the application automatically.
Create CI/CD Pipeline using Github-action
Create two repositories for the NodeJs and ReactJs code.
Push your code to the repository.
Repositories Should look like this.


To Deploy the Application on the Nodejs host, We need to create a self-hosted runner on our host.
- Go to Settings.

- Click on Add-new-runner.

- Click on Linux, as We have run our applications on Ubuntu.

- Run all these commands on the NodeJs host.

- Once the run is complete, you should observe an output that indicates the readiness of our host to automate the deployment workflow.

Follow the same step for the React application.
Create workflow files for the Automation of NodeJs Application.
- Create .github/workflows folder inside GitHub repository.
cd your/repository/path
mkdir -p .github/workflows
- Create action.yml file inside the workflows folder.
name: Deloy Node Application

on:
  push:
    branches:
      - main # Replace with your desired branch

jobs:
  copy-repo:
    runs-on: self-hosted # You can choose a different runner if needed

    steps:
    - name: Checkout code
      uses: actions/checkout@v2

    - name: Install Dependancy
      run: |
        npm install

    - name: Check if Node.js app is running
      run: |
          pm2 list > pm2_list.txt
          if grep -wq "index" pm2_list.txt; then
            echo "Your Node.js app is running. Stopping it..."
            pm2 stop index
            pm2 delete index
            echo "Your Node.js app has been stopped."
          fi

    - name: Node.js app is Starting
      run: |
        pm2 start index.js

    - name: Save PM2 process list
      run: pm2 list
- Push this code to your repository.

- Once you push your code, the automation starts and runs successfully.


Create workflow file for the Automation of ReactJs Application.
Create .github/workflows folder inside the GitHub repository.
Create action.yml file inside the workflows folder.
name: Deploy ReactJs Application

on:
  push:
    branches:
      - main # Replace with your desired branch

jobs:
  copy-repo:
    runs-on: self-hosted # You can choose a different runner if needed

    steps:
    - name: Checkout code
      uses: actions/checkout@v2

    - name: Install Dependencies
      run: npm install --force

    - name: Check if React app is running
      run: |
          pm2 list > pm2_list.txt
          if grep -wq "client" pm2_list.txt; then
            echo "Your React  app is running. Stopping it..."
            pm2 stop client
            pm2 delete client
            echo "Your React app has been stopped."

          fi

    - name: Start React App
      run: pm2 start npm --name "client" -- start

    - name: Save PM2 process list
      run: pm2 list
- Once you push your code, the automation starts and runs successfully.


References
https://github.com/nodesource/distributions#installation-instructions
https://www.mongodb.com/docs/manual/tutorial/install-mongodb-on-ubuntu